
I did them at the woodworking centre I go to so I could get advice from the carpenter there if needs be.
What took the most time was probably carrying out all the pieces of wood each week and then having to tidy everything away at the end of the evening. If I had done it at home then I would have just left everything lying around until I was done!
Here's the carpenter, Thomas, cutting all my wood down to size on the table saw:

Here's some of the interesting machines that they have at the centre - all probably from 1900s but better than some of the modern rubbish you get!!


So, here's a breakdown of how they were made:
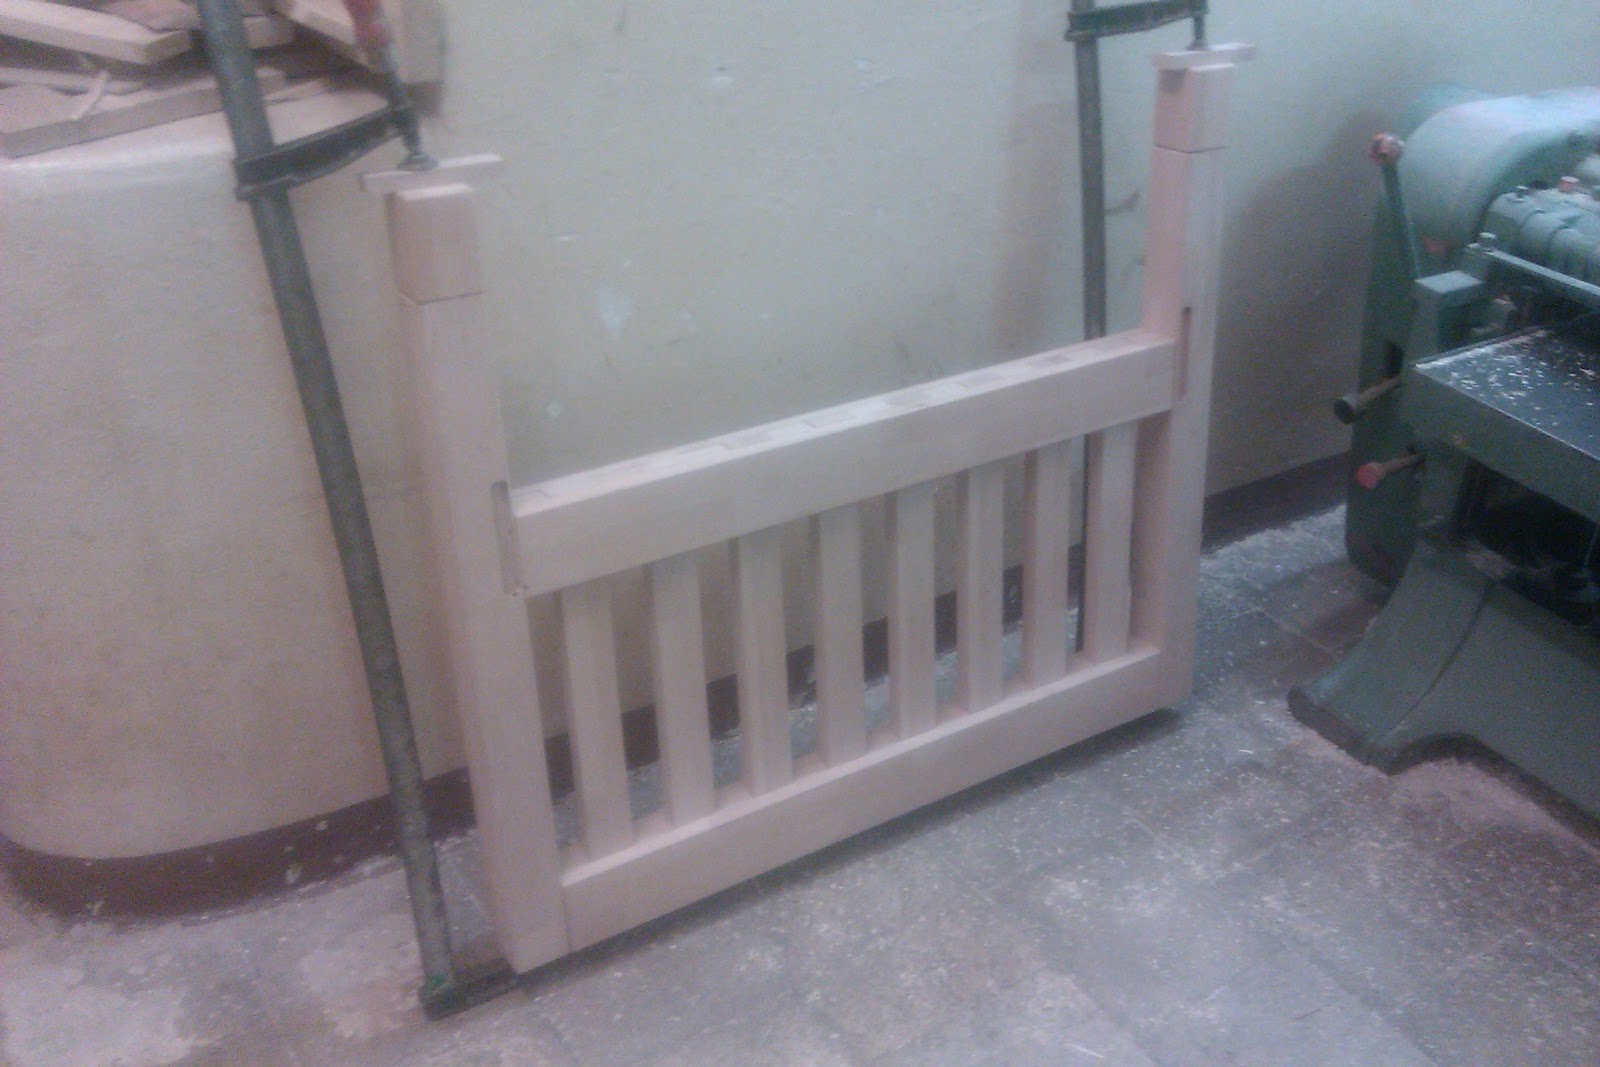
I made the foot and head pieces by screwing dividers and rails to the header boards. The screws are then covered up with another header board that is just glued and clamped into place.


The posts are attached to the headboards/footboards using thick dowels and biscuits. This involved using a drill to drill the correct depth and size for the dowels and using a buiscuit joiner for cutting out the disc-shaped holes for the buiscuits. I then added glue, the respective joining wood and then clamped the whole thing together until dry and secure!


I added some extra "feet" onto the bottom of the posts so I could paint them a different colour to the actual posts.
I then used a router to cut into the posts to fit the moutings flush into the wood. This is how the side rails are joined to the headboards/footboards so the beds can easily be taken apart.


I rounded all edges off using the router so that there are no sharp edges and the beds have a more professional finish.
The boards on top of the headboards/footboards are only attached using biscuit joins that aren't glued down. This is so they can easily transform into bunkbeds. You have to remove the boards from the two headboards, as these will be the bottom bed. The posts then have holes drilled into them and 25mm dowels that will slot in. The footboards then have holes drilled into the bottom of them and will sit on top of the bottom bed to form bunkbeds.
The sides of the bed also have the leftover bits of wood screwed to the sides so that the slats (which will be bought) can rest on it.


These beasts were quite a struggle to get back home, let me tell you! Beech wood is a really sturdy wood, which is great for the stability of the beds, but not so good for carrying when the age of chivalry is dead! I couldn't believe it, but no one helped me carry the beds out to my car or load them in! I had to negotiate them up the stairs and out of the fire door that needed to be opened every time and then try and slot them into the back of the Golf like a Tetris game! I then had to unload them all at the other side on my own as G wasn't home either! My forearms took the brunt of the work and were covered in bruises the next day!
I can't decide whether to finish the beds by painting them white and then staining the feet and tops of the headboards/footboards with the same chestnut brown as the bedside tables that will go next to them or to keep them as they are au naturel - should I take a vote??
Here they are with the nice covers we got from my family as a Christmas present!


Visitors ... ready, steady, go!
No comments:
Post a Comment